You know that feeling when you finally hang new curtains, step back, and realize they’re just… off? Maybe they’re hovering awkwardly above the floor like they’re afraid of commitment, or perhaps they’re so narrow they look like they’re on a diet. Trust me, I’ve been there – and it’s why I’ve become somewhat obsessed with getting curtain dimensions just right.
After years of helping friends transform their spaces (and making my fair share of measurement mishaps along the way), I’ve learned that customizing curtain length and width isn’t just about following a formula. It’s about understanding how fabric behaves, how light plays with different lengths, and yes, even how your cat might interact with those pooling hems.
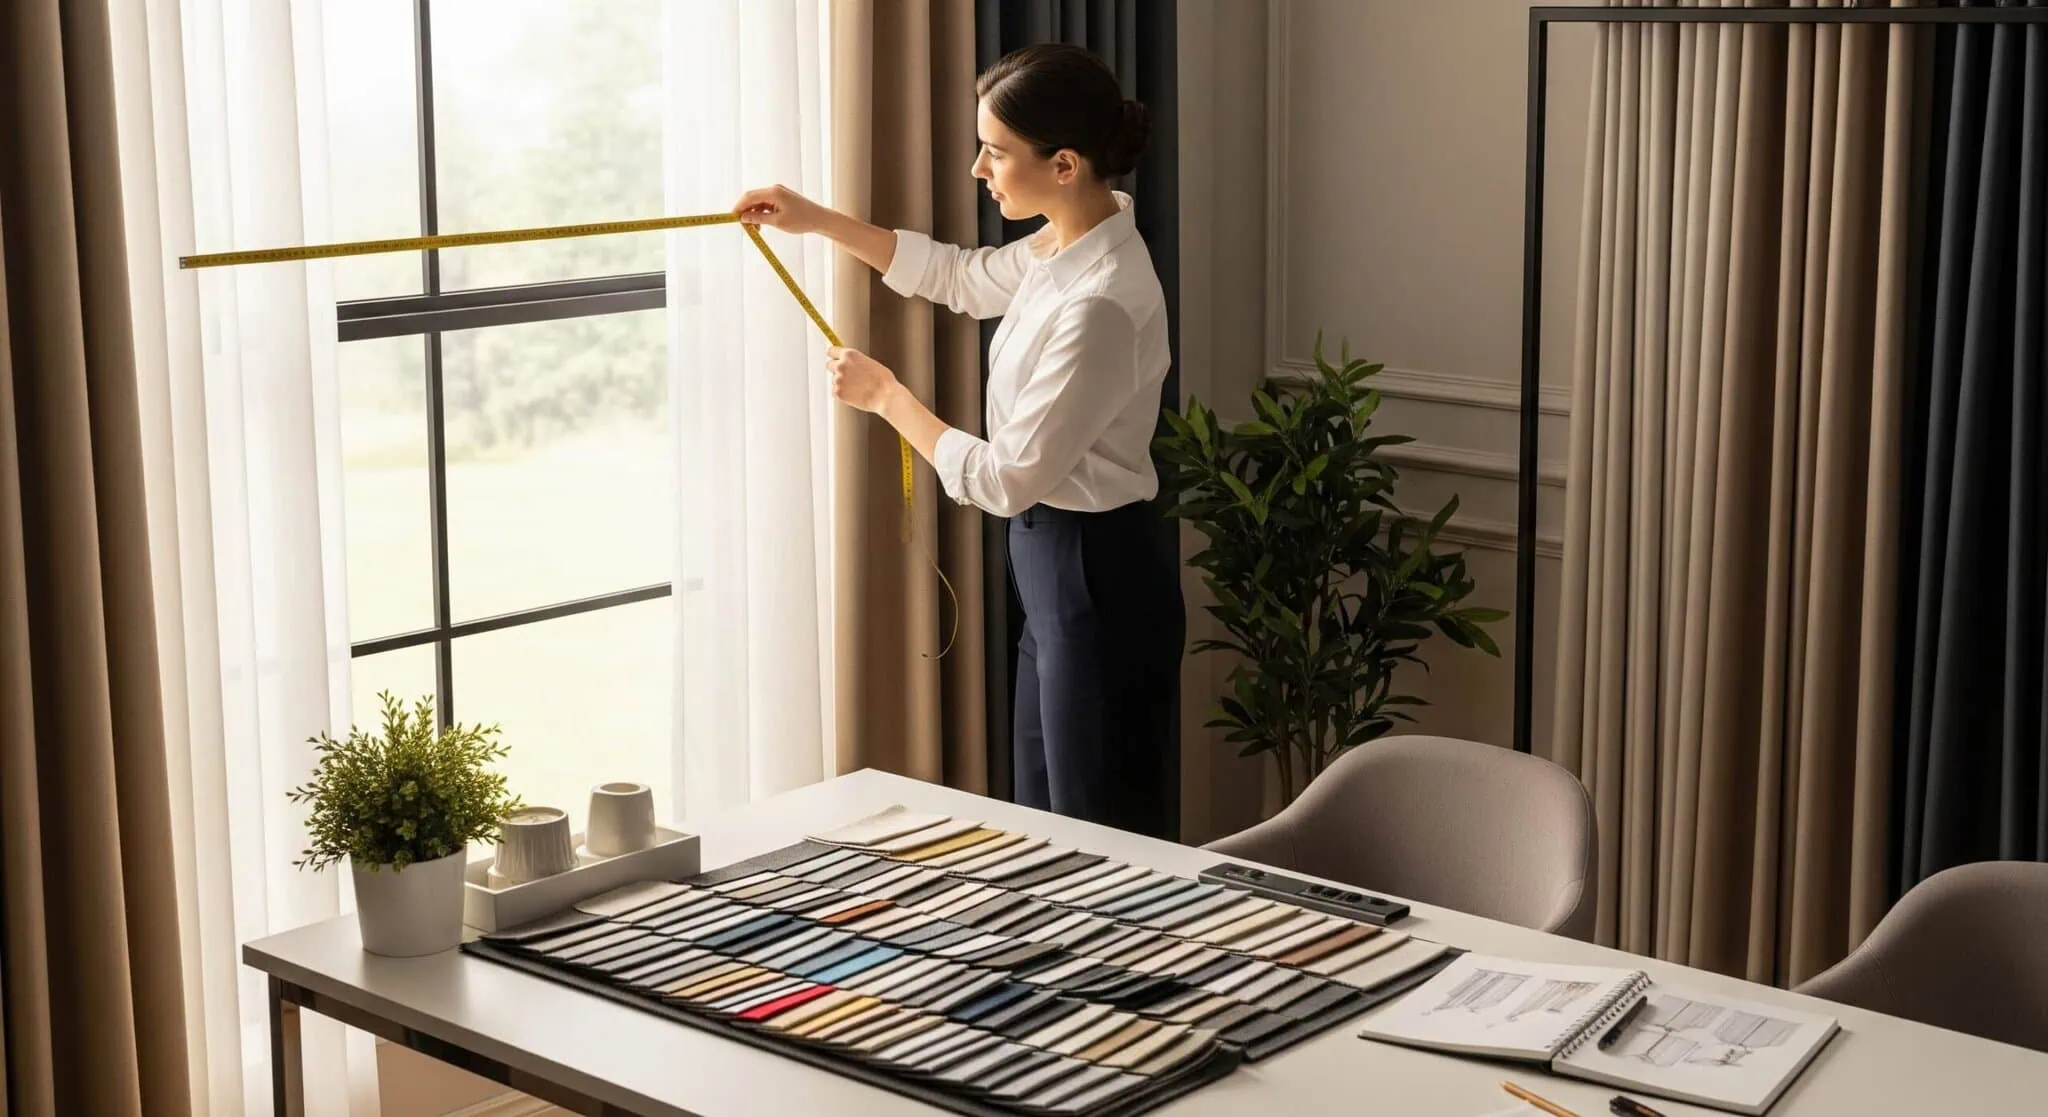
Measuring Windows for Custom Curtains: Beyond the Basics
Here’s where most people go wrong – they measure the window itself and call it a day. But creating that magazine-worthy look requires thinking bigger, literally.
Start by deciding where your curtain rod will go. I always recommend mounting it at least 4-6 inches above the window frame, though I’ve gone as high as 12 inches for dramatic effect in rooms with standard 8-foot ceilings. This little trick makes your windows appear larger and your ceilings higher. It’s like wearing vertical stripes, but for your room.
For width, here’s my golden rule: measure from where you want the curtains to start and end when they’re open. This is usually 6-12 inches beyond each side of the window frame. Why? Because you want your curtains to frame the window without blocking precious natural light when they’re pulled back.
Don’t forget to measure at multiple points! Windows aren’t always perfectly square (shocking, I know). I once assumed a window was level and ended up with curtains that looked like they were doing the limbo. Measure the width at the top, middle, and bottom, then use the largest measurement.
Adjusting Curtain Length for Different Ceiling Heights
Ceiling height is where curtain hanging becomes an art form. In my first apartment with gloriously high 10-foot ceilings, I made the rookie mistake of buying standard 84-inch curtains. They looked like capri pants for windows – not the vibe I was going for.
For standard 8-foot ceilings, 96-inch curtains usually work beautifully when mounted close to the ceiling. But here’s where personal preference comes in. Some people love the “kiss” – where curtains barely graze the floor. Others prefer a slight “break” where the fabric gently rests on the floor. And then there are the maximalists (guilty!) who adore a dramatic puddle.
If you’re dealing with cathedral ceilings or two-story spaces, consider having curtains custom-made. Yes, it’s an investment, but the impact is incredible. I recently helped a friend with 14-foot ceilings, and we went with 168-inch curtains. The way they draw the eye upward? Chef’s kiss 😘
Pro tip: Always account for shrinkage if you plan to wash your curtains. Natural fibers like cotton and linen can shrink 3-5%, which can turn your perfect floor-kissers into awkward ankle-grazers.
Adding Width for Fullness and Visual Impact
Okay, this is where the magic happens. Skimpy curtains are like wearing a jacket that’s too small – technically functional but definitely not flattering. The secret to luxurious-looking curtains? Fullness.
For a tailored look, your curtain panels should be 1.5 to 2 times the width of your window. For that sumptuous, hotel-worthy appearance? Go for 2.5 to 3 times. I once splurged on triple fullness for my living room, and honestly, every time I walk in, I feel like I should be charging myself a resort fee.
Here’s how it breaks down: If your window is 60 inches wide, and you want double fullness, you’ll need panels totaling 120 inches. That could be two 60-inch panels or four 30-inch panels, depending on your rod and ring setup.
Remember to consider the fabric too. Sheer fabrics can handle more fullness without looking bulky, while heavy velvets might overwhelm a space if they’re too full. I learned this the hard way with some gorgeous emerald velvet curtains that ended up making my dining room look like a theater set. Not entirely bad, but definitely more dramatic than Sunday brunch called for.
The Magic of Hemming: Simple Adjustments That Make All the Difference
Let’s talk about hemming – the unsung hero of custom curtains. Even if you’re not particularly crafty (and trust me, my first hemming attempt looked like it was done by someone wearing oven mitts), basic hemming can transform off-the-shelf curtains into custom-looking window treatments.
The beauty of hemming is that it’s forgiving. Unlike cutting fabric, you can always let a hem out if you change your mind. I recommend using hem tape for a no-sew option – it’s basically fabric glue in tape form, and it’s saved me countless times. Just remember to test it on a hidden area first; I once used cheap hem tape that left weird residue marks. Lesson learned.
For those ready to tackle sewing, a blind hem is your best friend. It’s nearly invisible from the front and gives that professional finish. YouTube University taught me this skill, and after practicing on some old sheets (always practice on something you don’t care about!), I felt like a curtain surgeon.
Here’s a game-changer: adjustable hem weights. If your curtains are lightweight and tend to blow around, these little weights sewn into the hem corners keep everything hanging beautifully. They’re especially crucial for outdoor curtains or windows near heating vents.
Bringing It All Together
Customizing curtain dimensions might seem like a lot of measuring and math, but the payoff is huge. Properly fitted curtains can make a room feel more polished, spacious, and intentional. They’re like the perfect frame for your windows – when done right, they enhance everything without stealing the show.
Remember, these are guidelines, not rules carved in stone. I’ve broken plenty of them over the years, sometimes with fantastic results. The key is understanding the principles so you can break them intentionally, not accidentally.
Whether you’re hemming store-bought panels or going full custom, taking the time to get your curtain dimensions right is one of those small efforts that yields big results. Your windows (and your whole room) will thank you for it.
Ready to transform your windows? Grab that measuring tape and show those curtains who’s boss. And hey, if this helped you avoid the dreaded “flood pants” curtain look, share it with someone else who might be struggling with their window treatments. We’ve all been there, and a little guidance goes a long way!