There’s nothing quite like the thrill of finding the perfect curtains to complete a room. But that excitement can quickly turn to disappointment if you hang them up only to find they’re too short, not wide enough, or just… wrong. An ill-fitting curtain can throw off the balance of an entire space. I learned this lesson the hard way early in my career when I “eyeballed” a measurement for a client project. The curtains arrived, and they were heartbreakingly too short. It was a mistake I never made again.
It solidified the old carpenter’s adage in my mind: “measure twice, cut once.” Or in our case, “measure twice, buy once.” Taking just ten minutes to measure your windows properly is the single most important step in achieving a professional, high-end look. It’s the foundation upon which beautiful window treatments are built.
So, let’s banish the guesswork for good. This is your foolproof, step-by-step guide to measuring your windows like a pro, ensuring a perfect, custom-fit feel every single time.
Tools You’ll Need for Accurate Window Measurements
First things first, let’s gather our very simple toolkit. Having the right tools on hand makes the process quick, easy, and, most importantly, accurate.
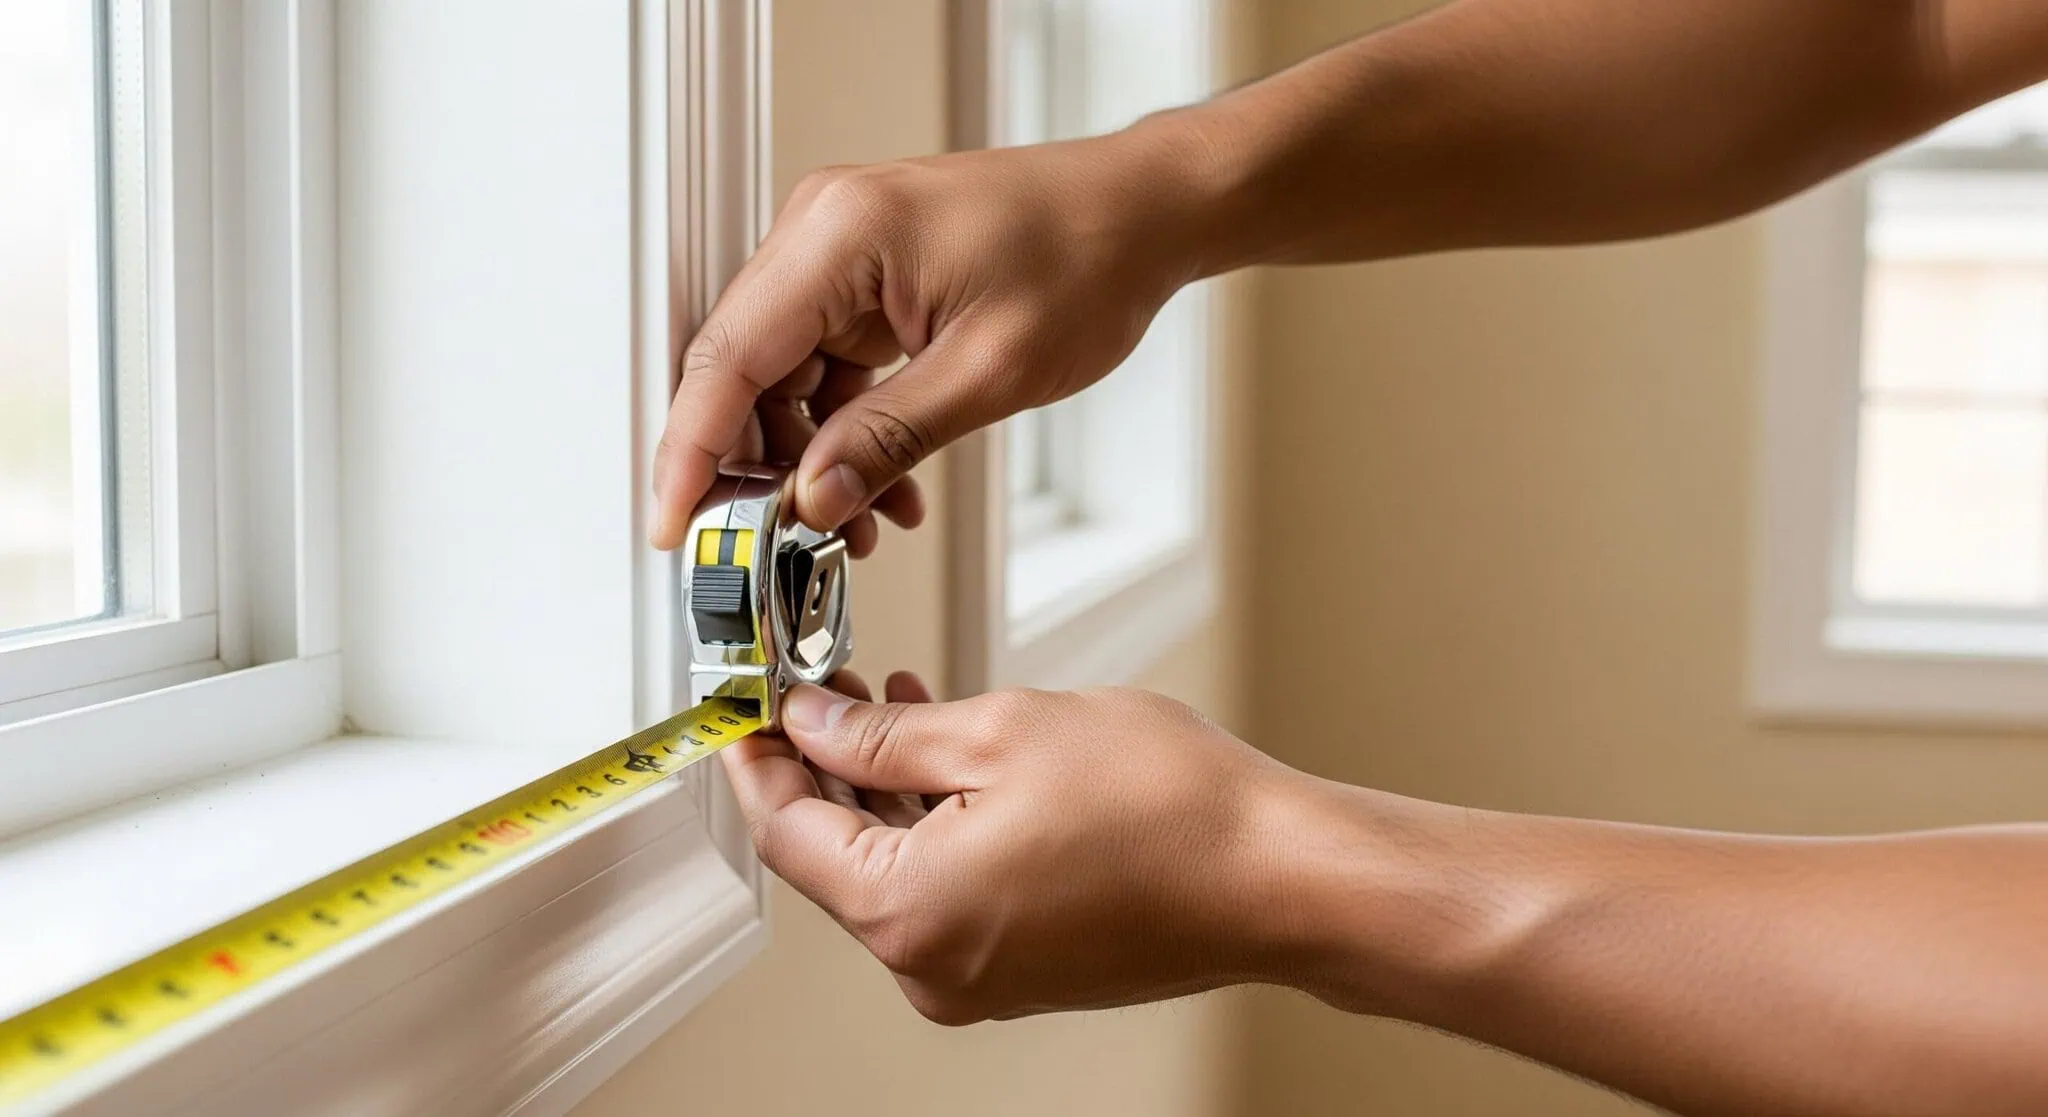
- A Metal Tape Measure: This is non-negotiable. Please don’t use a fabric sewing tape or a plastic one, as they can stretch over time and give you an inaccurate reading. A sturdy, 25-foot metal tape measure is a perfect all-around choice.
- A Notepad and Pen: Don’t trust your memory! As you take each measurement, write it down immediately and label it clearly (e.g., “Living Room Window Frame Width”).
- A Sturdy Step Stool or Ladder: Safety first! For taller windows, use a proper step stool or ladder to reach the top safely and get an accurate measurement without stretching.
- A Level (Optional but Highly Recommended): In many homes, especially older ones, window frames and even ceilings might not be perfectly level. Using a level to mark your bracket placement will ensure your curtain rod is perfectly horizontal, even if the window isn’t.
Measuring Width and Length: Common Pitfalls to Avoid
This is where the magic happens. We’re not just measuring the window; we’re measuring for impact. The goal is to make your window look bigger and the room feel grander.
Measuring for WIDTH (For Your Curtain Rod)
This measurement determines how wide your curtain rod needs to be.
Step 1: Measure the Frame.
Start by measuring the exact width of your window from one side of the outer trim to the other. Write this number down and label it “Frame Width.”
Step 2: Add for “Stackback.”
Now for the crucial designer trick. You don’t want your curtains covering the glass when they’re open; you want them to “stack back” on the wall, making the window look wider and letting in maximum light.
- The Rule: Add 6 to 12 inches on EACH side of your “Frame Width.”
- The Formula: (Frame Width) + (12 to 24 inches) = Final Rod Width.
- Example: If your window frame is 50 inches wide, you’ll want a curtain rod that is at least 62 inches wide (50 + 6 + 6), and ideally closer to 74 inches wide (50 + 12 + 12).
Common Pitfall to Avoid: Measuring only the glass part of the window or buying a rod that is the exact same width as the frame. This forces the curtains to block the window even when open, which shrinks the window visually and darkens the room.
Measuring for LENGTH (For Your Curtain Panels)
This measurement determines how long your curtain panels should be. CRUCIAL: You must decide where you’re going to hang your rod before you measure for length!
Step 1: Determine Your Rod Height.
Remember the “High and Wide” rule. Your rod should be mounted at least 4 to 6 inches above the top of the window frame. For a more dramatic look, go even higher.
Step 2: Measure from Top to Bottom.
Once you’ve marked your rod’s future position, measure from that spot down to where you want your curtains to end. You have three standard options:
- To the Sill: The hem just touches the windowsill. This is a good choice for windows over kitchen counters or above radiators.
- To the Apron: The hem ends about 1 inch below the bottom window trim (the “apron”). This is a tidy look, but less common today.
- To the Floor: This is the most popular, elegant, and designer-approved choice.
- Float: Measure to about ½ inch above the floor. This is great for a crisp, clean look and for curtains you’ll open and close frequently.
- Kiss: Measure exactly to the floor. This is a very precise, custom look.
- Puddle: Add 1 to 3 inches to the floor-length measurement for a romantic, luxurious pool of fabric.
Common Pitfall to Avoid: Measuring from the top of the window trim instead of from your intended (higher) rod position. This is the #1 reason people end up with curtains that are too short!
Adjusting Measurements for Different Drapery Styles
With your two key measurements—Final Rod Width and Curtain Length—you can now confidently shop for curtains. But there’s one more piece to the puzzle: fullness.
Calculating Curtain Panel Width for Fullness
You want your curtains to have beautiful, deep folds when closed, not look like a flat sheet stretched taut.
- The Rule: The total width of your curtain panels should be 2 to 2.5 times your Final Rod Width.
- Example: Your Final Rod Width is 74 inches. You’ll need a total curtain panel width of at least 148 inches (74 x 2). If you’re buying two panels, each one should be about 74 inches wide. Most standard panels come in widths around 50 inches, so in this case, you might even consider using four panels (two on each side) for a very plush look.
Considering Different Curtain Headings
The way the curtain attaches to the rod can slightly affect your length measurement.
- For Rod Pocket or Tab Top: Measure from the very top of the fabric to the bottom hem.
- For Grommet Top: Measure from the top edge of the fabric. The “take up” from the waves is usually minimal.
- For Curtains on Rings: This is important. You will measure your desired length from the bottom of the curtain ring (where the drapery hook attaches) to the floor. This means you’ll mount your rod a little bit lower to accommodate the height of the rings.
Expert Tips for Measuring Irregularly Shaped Windows
Not all windows are simple rectangles. Here’s how to approach some trickier situations.
- Bay or Bow Windows: Treat each window section as its own separate unit. Measure the width of each individual window, and then look for curtain rods with flexible corner connectors that allow you to join them into one continuous rod.
- Arched Windows: You have two great options. The most common is to mount a long, straight rod high above the arch, treating it like a standard window. This showcases the beautiful architectural detail. Alternatively, you can have a custom rod bent to follow the curve, which is a more specialized and expensive option.
- Corner Windows: As with bay windows, use a corner connector to join two rods. Or, for a very dramatic look, you can run two separate rods that meet in the corner, allowing each curtain to stack back on its respective wall.
My Final Expert Tip: When in doubt, it is always better for a curtain to be slightly too long or too wide. You can always have a curtain hemmed if it’s too long, but you can’t magically add fabric if it’s too short!
The Foundation of a Beautiful Room
Congratulations! You are now armed with the knowledge to measure any window in your home with confidence and precision. Taking these few simple steps is the secret to achieving that polished, professionally designed look you love. It ensures your investment in beautiful curtains pays off, resulting in window treatments that not only fit perfectly but also elevate your entire space.
So grab your tape measure and notepad, and get ready to plan your next window project with the assurance that you’re going to get it exactly right.
If you found this guide helpful, please share it with anyone who has ever felt the frustration of ill-fitting curtains! Here’s to making our homes more beautiful, one perfectly measured window at a time.