Okay, let’s talk about something near and dear to my heart: sleep. Glorious, uninterrupted sleep. For years, I battled the early morning sun streaming through my bedroom window. And don’t even get me started on the streetlight that seemed strategically placed to mimic daylight at 2 AM. I tried flimsy store-bought “blackout” curtains that were, frankly, a joke. They dimmed the light, sure, but blackout? Not even close.
That’s when I decided to take matters into my own hands. Sewing my own blackout curtains was a game-changer. Not only did I finally achieve that pitch-black, cave-like darkness perfect for sleeping in, but I also got curtains that perfectly fit my windows and my style. Plus, there’s that undeniable satisfaction of making something yourself, right?
If you’re tired of light leaks and ready for some serious darkness (and maybe even some thermal insulation and noise reduction benefits thrown in), you’ve come to the right place. Making your own blackout curtains isn’t nearly as intimidating as it sounds. It just takes the right fabric, careful measurements, and a bit of patience. Let’s dive in!
Selecting the Appropriate Blackout Fabric
First things first: the fabric. This is arguably the most crucial step. You can’t just use any old heavy fabric and expect true blackout results. You need actual blackout material.
So, what are you looking for?
- True Blackout Lining vs. Dimout: You’ll often see fabrics labeled “dimout” or “blackout.” Dimout fabrics significantly reduce light but won’t block it completely. For that delicious, vampire-approved darkness, you need true blackout fabric. This is typically made using a 3-pass process: a layer of black acrylic sandwiched between two layers of white or off-white acrylic foam applied to a base fabric (often polyester or a poly-cotton blend). The black layer is what does the heavy lifting of blocking light. Some fabrics integrate the blackout properties directly into the weave, often called “woven blackout,” which can have a nicer drape.
- Weight and Drape: Blackout fabric is inherently heavier and often a bit stiffer than regular curtain fabric due to the lining or dense weave. Consider how you want your curtains to hang. Some blackout fabrics are surprisingly soft and drape quite nicely, while others are more rigid. It’s always a good idea to order swatches if you can! Feeling the fabric beforehand can save you potential disappointment. I once ordered a fabric online based purely on the description, and it arrived feeling like stiff cardboard – lesson learned!
- Face Fabric (Optional but Recommended): While you can make curtains solely from blackout fabric (especially the woven kind), it often looks much nicer to use the blackout material as a lining attached to a decorative face fabric. This gives you unlimited options for color and pattern on the room-facing side while the blackout lining does its work behind the scenes. If you go this route, make sure your face fabric isn’t too sheer or lightweight, as the blackout lining might show through slightly in very bright conditions, or it might affect the drape. A medium-weight cotton, linen blend, or decorator fabric usually works beautifully.
- Color: Does the blackout lining have to be black? Nope! The magic happens with that hidden middle layer in 3-pass linings. The side facing the window is usually white or off-white to reflect heat and comply with potential HOA rules. The side facing the room (if you’re not using a separate face fabric) can come in various colors, although the selection might be more limited than standard decor fabrics.
My advice? If you’re new to this, consider using a separate face fabric and a standard white/ivory 3-pass blackout lining. It’s a straightforward approach and gives you the most design flexibility.
Cutting and Measuring for Maximum Coverage
Alright, fabric selected? Awesome. Now comes the part where precision really, really matters: measuring and cutting. The goal here isn’t just to cover the window pane; it’s to obliterate any sneaky light trying to creep in around the edges.
Here’s the mantra: Measure twice (or heck, three times!), cut once. Seriously. Blackout fabric isn’t always cheap, and recutting isn’t an option.
- Measure Your Window & Determine Rod Placement: First, decide where your curtain rod will go. For maximum blackout effect, you need to mount it high and wide.
- Height: Aim for at least 4-6 inches above the window frame. This stops light from leaking over the top.
- Width: Extend the rod at least 4-6 inches beyond the window frame on each side. This prevents light from peeking in around the sides. More is often better here!
- Calculate Finished Curtain Length: Measure from where the top of the curtain will hang on the rod (this depends on your hanging method – rings, grommets, rod pocket) down to where you want the hem to fall. Popular choices are just kissing the floor, puddling slightly (adds a bit of drama, but can collect dust), or stopping just below the windowsill (less common for blackout, as it can allow light underneath). I personally prefer them to just touch the floor for the best seal.
- Calculate Finished Curtain Width: This is crucial for effectiveness and aesthetics. You want enough fabric so the curtains still look full and have folds even when closed, and crucially, you need enough width to cover the extended rod length plus have some overlap in the middle if you’re making a pair. A general rule of thumb is for the total flat width of the panel(s) to be 1.5 to 2.5 times the width of the area you want to cover (the rod length). For blackout, lean towards 2 or 2.5 times for better light blocking – flatter curtains let more light seep through the weave and edges.
- Add Allowances for Hems and Headers: Now, add extra fabric to your finished dimensions for turning under hems and creating the top header (where the rod pocket, grommets, or pleats will go).
- Bottom Hem: A double-fold hem is standard and looks professional. A common allowance is 8 inches total (fold up 4 inches, then fold another 4 inches). This weight also helps the curtains hang nicely.
- Side Hems: Similarly, allow for double-fold side hems. 1.5 inches per fold (3 inches total per side) is typical.
- Top Header: This depends entirely on your hanging style.
- Rod Pocket: Allow for the pocket depth (circumference of your rod divided by 2, plus about 1/2 inch ease) plus the turn-under allowance (usually 1/2 to 1 inch) and any ruffle you might want above the pocket (e.g., 1-3 inches, doubled).
- Grommets/Pleats/Rings: Consult instructions specific to these methods, but generally, you’ll need a sturdy double-fold header, often similar in depth to the bottom hem (e.g., 4-inch double fold = 8 inches total fabric).
- Cutting: Lay your fabric(s) out flat on a large surface (a clean floor works!). Use a long straight edge, measuring tape, and tailor’s chalk or a fabric marker. Ensure your cuts are perfectly straight and square – this is vital for even hanging. If using a separate face fabric and blackout lining, cut them exactly the same size based on your calculations.
Take your time with this stage. Rushing leads to mistakes, and wonky curtains are no fun for anyone. Put on some music, grab a coffee, and focus.
Techniques for Seaming and Stitching Blackout Material
Okay, fabric cut, nerves steadied? Let’s sew! Working with blackout fabric, especially the 3-pass lined kind, requires a few considerations. It’s thicker and less forgiving than your average cotton.
- Needle and Thread: Use a sharp, strong needle appropriate for heavier fabrics. A size 90/14 or 100/16 universal needle might work, but a Jeans/Denim needle is often better as it’s designed for penetrating thick layers without skipping stitches. Pair this with a good quality all-purpose polyester thread. Cotton thread isn’t as strong and can degrade over time with sun exposure.
- Pins vs. Clips: Be mindful that pins can leave permanent holes in some blackout linings, especially the foam-coated types. Test on a scrap first. If pins leave visible marks, use fabric clips (like Wonder Clips) or even small binder clips along the edges instead. They hold securely without puncturing the material.
- Joining Panels (If Needed): Standard fabric widths often aren’t wide enough for generous curtain panels. You’ll likely need to join widths of fabric together. Use a standard seam allowance (e.g., 1/2 inch), sew the panels right sides together, and press the seam open or to one side. Try to place seams where they’ll fall within a curtain fold when hung, making them less visible.
- Attaching Lining to Face Fabric (If Applicable): There are a few ways to do this. A common method is to treat them as one piece after joining the widths:
- Place the face fabric and blackout lining right sides together, aligning all edges carefully.
- Stitch down both side edges and across the bottom edge, using your planned seam allowance (leaving the top open for turning).
- Clip the bottom corners diagonally to reduce bulk.
- Turn the entire curtain right side out through the open top edge. Use a point turner or a blunt tool (like a chopstick) to gently push out the corners.
- Press the edges flat. This gives you beautifully enclosed seams on the sides and bottom. The top edge is then finished according to your chosen header style.
- Hemming: If you didn’t use the turn-through method above, you’ll hem the lining and face fabric separately (common if the lining hangs freely, not attached at the sides). Hem the lining slightly shorter (about 1 inch) than the face fabric so it doesn’t peek out underneath. For the double-fold hems mentioned earlier: fold the raw edge up by the hem depth (e.g., 4 inches), press, then fold again by the same amount, press again, and stitch close to the inner folded edge. Use a blind hem stitch for a nearly invisible finish if you’re feeling fancy!
- Stitching Tips: Sew slowly and steadily, guiding the fabric rather than pulling it. Blackout material can sometimes “drag” on the sewing machine bed; placing tissue paper under the fabric can sometimes help it glide more easily (just tear it away afterwards). Backstitch at the beginning and end of each seam to secure your stitches.
Don’t stress about perfection. Tiny wobbles in your stitch line won’t be noticeable once the curtains are hanging and gathered. Focus on secure seams and accurate hems.
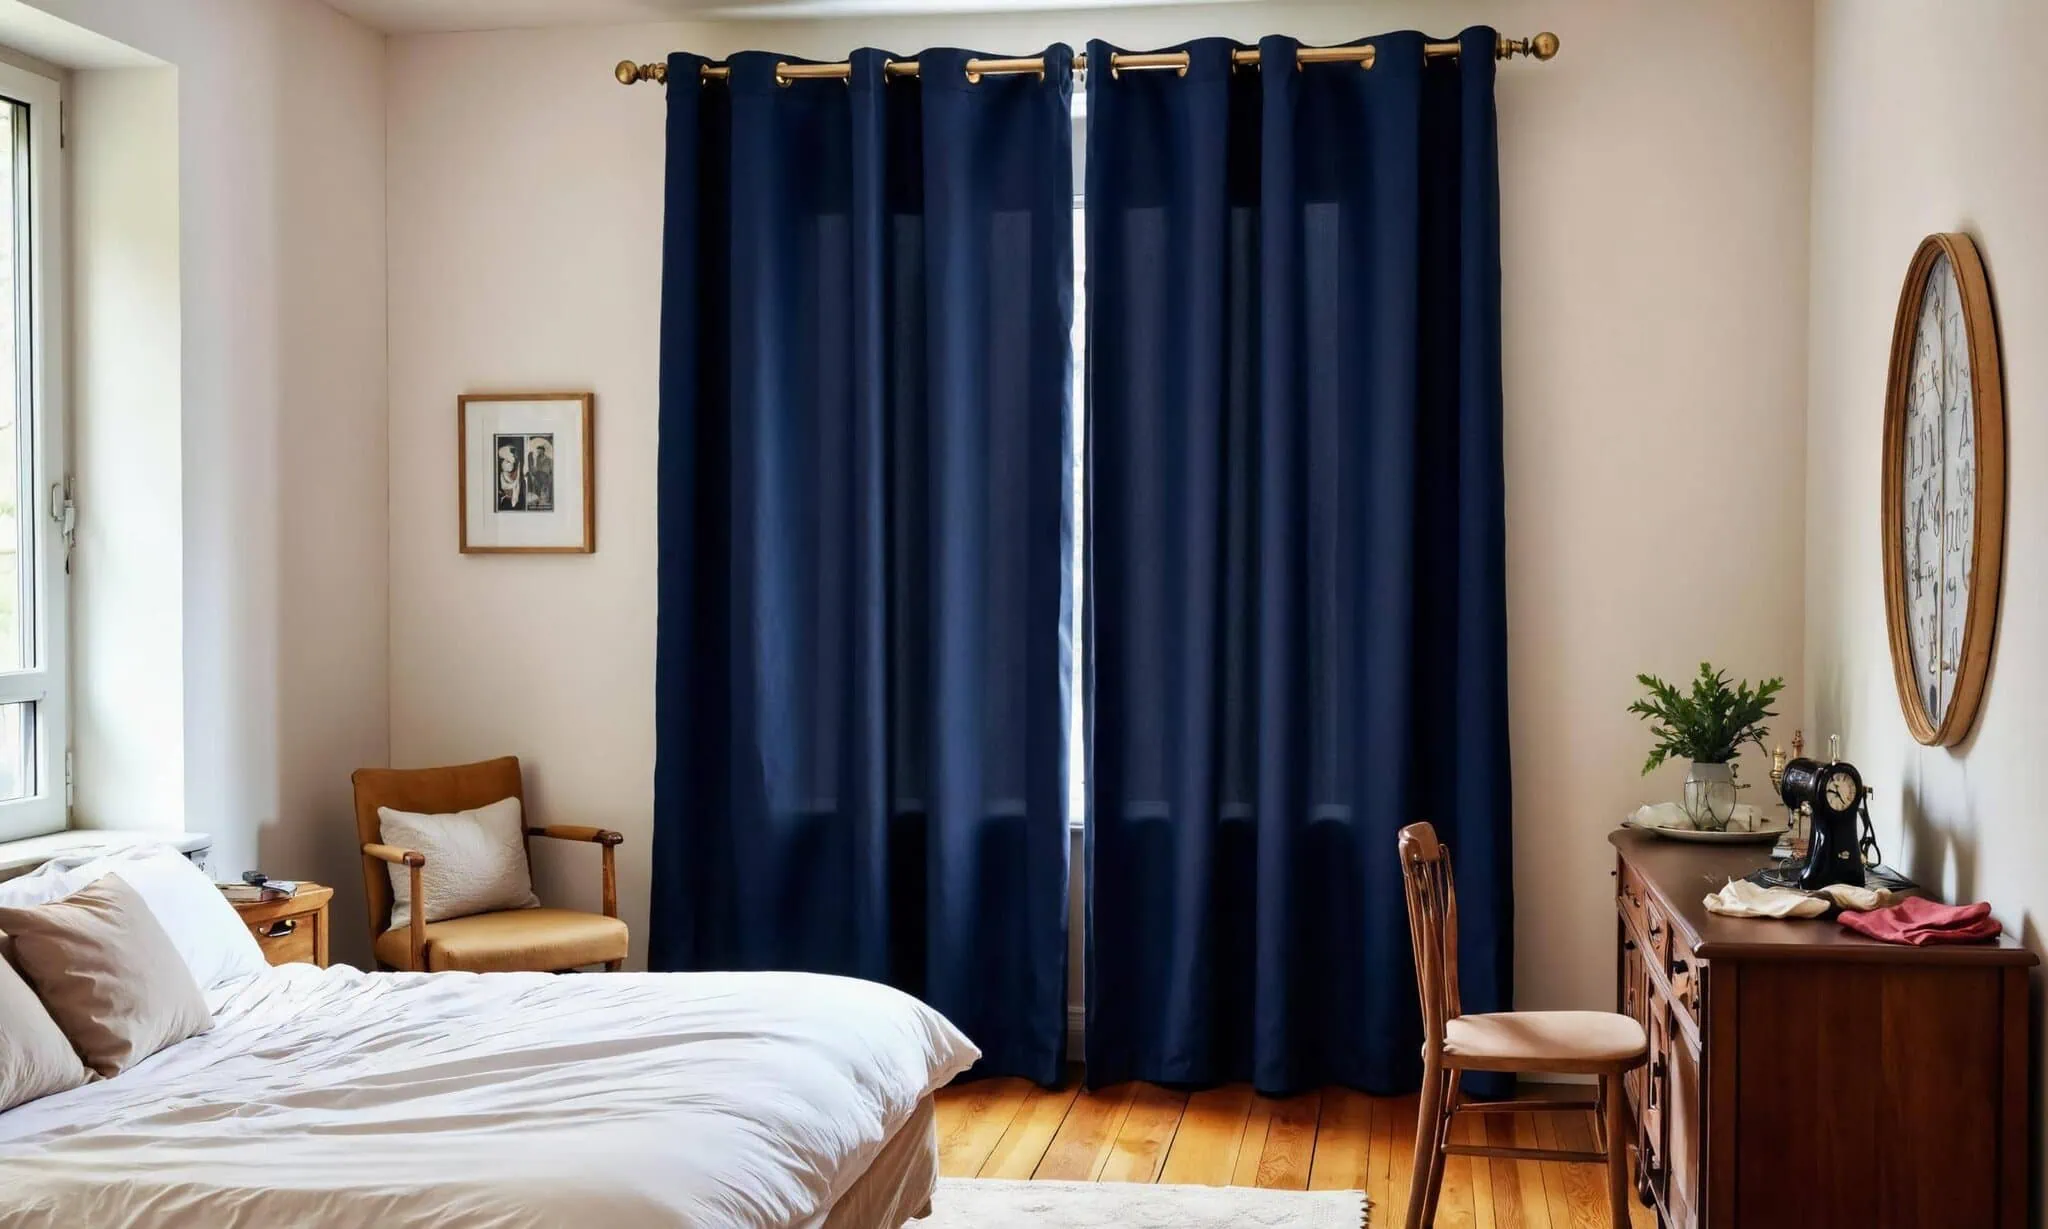
Hanging Tips for Optimal Blackout Effect
You’ve done the hard work – the sewing is complete! But how you hang your beautiful new curtains is the final piece of the blackout puzzle. Remember that high-and-wide rod placement we talked about? That’s step one.
- Rod Choice: Use a sturdy rod that won’t bow under the weight of the heavy curtains. For maximum light blocking at the sides, consider a wrap-around rod (also called a curtain return rod). These have curved ends that allow the curtain edge to wrap around and touch the wall, sealing off that pesky side-light gap. It makes a huge difference. Seriously, if total darkness is your goal, these are worth looking into.
- Fullness Matters: Don’t skimp on the fabric width! As mentioned in measuring, curtains that hang relatively flat when closed will let more light seep through the weave and around the edges. Aiming for 2x to 2.5x the rod width in fabric ensures deep folds even when the curtains are drawn, significantly improving the blackout effect.
- Top Edge Sealing: Light can sneak over the top edge between the rod and the wall. Mounting the rod high helps minimize this. Some people add a fabric valance or cornice box above the rod for extra blockage.
- Side Sealing (If No Wrap-Around Rod): If you don’t have a wrap-around rod, you can get creative. Small adhesive Velcro strips or magnetic tape applied discreetly to the wall and the curtain edge can help seal the sides when the curtains are closed. It might sound a bit much, but if you’re serious about blocking every single photon, it’s an option! I did this in my kid’s nursery once – worked like a charm.
- Check for Gaps: Once hung, turn off the lights inside and check for light leaks during the day. Adjust the curtain position on the rod, smooth out the folds, and see if any minor tweaks (like the Velcro trick) are needed.
Sweet Dreams Are Made of This (and DIY Curtains)
And there you have it! Sewing your own blackout curtains is a totally achievable project that pays off big time. You get custom-fit, stylish window treatments that deliver on their promise of darkness, helping you sleep better, keep your room cooler in summer and warmer in winter, and even muffling some outside noise.
It takes a bit of planning and careful execution, especially with measuring and cutting, but the techniques themselves are pretty straightforward sewing. Seeing (or rather, not seeing) the results of your own handiwork blocking out that annoying light is incredibly satisfying. So go pick out that fabric, dust off your sewing machine, and get ready to embrace the darkness! You’ve got this.
If you found this guide helpful, please consider sharing it with fellow light-sensitive souls or DIY enthusiasts!